How To Build A Closet In A Bedroom
Imagine having a bedroom without the closet space, it’s got to be very infuriating. Where would the clothes go? Where do you keep your shoes? Sometimes you might just need more storage space and decide to build a closet. There are a million reasons why one would want to build a closet in a bedroom. We can imagine being in that kind of situation, which is why we put together this article to show you how to build a closet in the bedroom.
We understand that the idea of carving out a home improvement project may seem scary for you but trust us it is it as hard as it seems. Let us proceed.
Before proceeding to build a closet, there are some things that you need to do first. And they are:
Table of Contents
Plan Properly
The popular saying that goes “failure to plan, is planning to fail”, isn’t just some random stuff someone came up with. Trust us, it applies to home renovations too. To complete a new closet without any drama, it is important that you already know what you want, how to get it done, and what is needed to get it done.
When carrying out renovations, it is standard practice to check out the local building codes and inquire about whether or not you will be needing a permit. We highly doubt that you would need a permit before being able to construct a new closet, but you never know so we suggest that you have some findings done.
Budgeting Is A Must
When it comes to home improvement and renovations, one must make a proper budget for how much they need to space on their project. With building closets, several materials will need to acquire and these obviously will not be handed to you for free. Some of them are:
Things You Would Need To Build A Closet
- 1/2-in. drywall
- Shims
- 16d nails
- 3-in. drywall screws
- Construction adhesive
- 2x4s
- 8d finish nails
- Toggle bolts and
- Double doors
To get these materials to work, you also need to get some tools to get the job done, some of which you may already have in your tools box while the others, you might to acquire newly. Some of the tools needed are:
- Hearing protection
- Air hose
- Brad nail gun
- Hammer
- Caulk gun
- Circular saw
- Drill bit set
- Safety glasses
- Air compressor
- Framing square
- Chalk line
- Level
- Tape measure
- Stepladder
- Drill/driver – cordless
- Miter saw
- Pry bar
- Speed square
- Stud finder
The lists seem to be never-ending, don’t they? This is exactly why you need to make a budget to be sure of how much the entire project will be taking out of your bank account or savings.
To build a closet (Reach-in) it costs between $1000 to $2500 while to build a walk-in closet, the cost begins at about $1500 and goes up depending on the size of your walk-in closet and what design you make use of.

Visibility Is Important
Something you need to understand is your closet space needs to be very visible. What we are trying to say is that you should be able to see all your clothes, or you might end up wearing only the things within your line of sight, which is kind of redundant.
Therefore, when building your closet, please keep in mind that you want to be able to see as many clothes as you can when you open up your closet.
Lighting Is Key
It’s quite obvious when people build closets, they rarely pay attention to proper lighting. Buttressing what we said earlier, without the correct lighting, it can be hard for you to go through your clothes. For instance, imagine trying to pick a blue shirt, but you cannot pick out the correct shade because the lighting in the closet is not sufficient.
Depending on the position of the closet space you’re trying to build we recommend that you design some spaces for natural lights which will enable you to have very good visibility of your closets. If natural light works for you, it is recommended that you make use of milk light, to have diffused light streaming in rather than harsh, intense light that will ruin your clothes.
If you live in a space where you cannot easily make such adjustments; in an apartment, for instance, we recommend that you make use of an LED light with a color temperature range of 5000 – 5000k.
Now that you understand what you need to look out for before you build a closet. Let us get to it.
Building The Closet – Step By Step Process
Layout the walls of the closet
Frame the closet walls
Proceed to cut the plates
Fasten the top plate to the ceiling
Fasten the studs
Put the headers in place
Wire it up
Hang sheetrock to the frames
Flooring
Install the closet doors
Paint the closet
Put the rods and shelves in place
Layout The Walls Of The Closet
The perfect location to build a closet would be in one of the corners in the room, so you need to chose what corner of the room you would like to sacrifice to get your coveted closet space. Whatever area you choose should be able to provide at least 27 inches of depth for your closet.
Making use of your plan, seek out the position of the closet walls and mark them out on the floor and also on the top and side plates. You need to do away with any form of flooring within the radius of the closet walls. This is to enable you to carry out precise measurements and we recommend that you measure about 30 inches then mark a line that is parallel to the wall.
Frame The Closet Walls
To save yourself from stress, you can easily build the closet walls on the floor then proceed to tilt them unto their exact vertical positions. Frame the closet walls within a dimension that is ¼ to ½ shorter than the exact height of the ceiling, this is to prevent you from damaging the ceiling of the room.
Next, you need to properly secure the top plate to the ceiling, use a shim if it is necessary. The new closet walls can now be secured to the floor with liquid screws or nails. Use these to screw the framing to the existing walls and ceiling of the room. To make sure that the wall is plumb and securely attached, we recommend that you use shims if you have to.
Proceed To Cut The Plates
Use a chop saw to cut the top and bottom plates and stud from 2x4s. Then mark the positions of your studs with a chalk line. Make sure the outside edge of the bottom plate aligns with the markings of the chalk line before screwing or nailing the bottom plate to the floor.
Avoid nailing the bottom plate where you intend to have the door opening.
Fasten The Top Plate To The Ceiling
Using 3-inch screws, fasten the top plate to where the joist intersects or if there is no joist for you to screw into, simply use construction adhesive and ¼ x 4inch toggle bolts to attach the plates. Ensure that you use 3-inch drywall screws to secure the ends of the plates by driving them at an angle that will catch ceiling nailers.
Fasten The Studs
You have to cut the studs so they fit perfectly between the top and between plates then proceed to toe-screw the studs into the plates. Cut the trimmers and nail, each one into a corresponding straight stud. Do this by driving in 16d sinker nails at an angle.
Put The Headers In Place
Use 16d nails to hold the 2×4 headers together then set the 2x4s on top of the trimmers before nailing them to the studs.
Wire It Up
If you are going to run electricity into the closet then this is the point where you have to get it done. If you can get this done yourself, then drill through the studs and install boxes where you will place your light switches. You can either run the wiring for an overhead fixture or for recessed lighting, whatever rocks your boat.
Hang Sheetrock To The Frames
Make sure that you align the 4×8 drywall sheets to have the seams fall in the middle of a stud. Then screw the sheetrock to studs with a power drill. You need to do this on the inside and outside of the closet.
After this, you need to tape and bed the seams with joint compound. Also, you should sand the surface of the sheetrock pending the time that you begin painting the walls. Ensure that you screw in the moldings and trim on the ceiling on both the interior and exterior of the closet.
Flooring
Like any other space in the house, the closet flooring should also be paid attention to. There are several options to choose from, depending on what kind of closet you have had installed. If your new closet is a walk-in closet, then you can explore the following options:
- Ceramic Tile
Asides having to throw in a carpet in the middle of the closet to keep your feet warm, ceramic tile flooring is a great option to go with. It gives off the energy of opulence and this can brighten your mood even on a dark day.
- Laminate and Vinyl
These are less expensive options compared to ceramic tile and hardwood flooring but they also give you that hardwood look. This option also gives an aesthetic feeling, especially if contrasts with the floor in your room.
However, if you have just installed a small closet and would like to spice it up then we have got the perfect flooring options for you to choose from. Small closets have no business with aesthetics, what they require is sturdy flooring and nothing else.
Simply make use of a carpet, use tile flooring or install wood floorings to cover the floor of your closet and the job is done.
Install The Closet Doors
How you install your closet door depends largely on what type of closet doors you plan on using. However, for the best door opening, we suggest sliding doors.
Keep in mind that you can build a closet door if you feel that you are up to the task but if you want to save yourself the stress, you can simply buy one from the nearest hardware store.
Sliding Doors
These kinds of doors give you access to your closet without taking any floor space, therefore, giving you extra storage space. Keep in mind that sliding doors require a 2 to 3 inches overlap in the center. Before you can Install your sliding closet door, first have the track on top of the door’s frame installed then fix two rollers on the top side of each door.
To engage the rollers on the track, you need to hold the inside panel at a 15-degree angle. Repeat this process with the second sliding door. You might have to close a locking mechanism on the rollers manually or they may snap in place themselves once they are engaged, this depends on what type of roller you install.
After this simply install a door guide in a position where the doors can easily pass through it. Make sure that you use screws to secure the floor guide and you are good to go.
Paint The Closet
Experts recommend that when painting your closet, you should make use of bright colors. This is because bright colors give you better visibility and also make your closet look bigger. However, if the function of your closet space is solely for the storage of various items, then it is recommended that you make use of darker color to obscure the content of your closet.
Follow the steps below to paint your closet:
- Tape the edges of thee of the baseboards and door facings to prevent them from contact with paint during the process. You should also tape around the edges of the ceiling to avoid getting paint on it.
- Cut in the edges of the walls: To do this, have a small portion of paint in a bowl or a disposable cup, then use the trim brush to apply some paint on the top and bottom edges of the wall. Also, you should brush down each corner from the top to bottom with paint. We recommend that you also paint 1 to 2 inches of paint away from the corner to ensure that rolled paint blends nicely with it.
- If there is any paint remaining in the bowl or disposable cup, pour it back into the paint tray liner (nothing goes to waste, people). Augment whatever paint is in the paint tray line with paint from the can.
- Ensure that you coat your roller sufficiently with paint by pushing it through the paint in an even fashion. To remove excess paint from the roller, drag it through the upper ridges of the paint tray.
- Now roll the paint unto the wall in a back and forth fashion, starting from the top to the bottom. We recommend using V-strokes to get better coverage. Repeat this process until you have covered every inch of your closet space.
- Allow the paint to dry before considering adding another coat because you might not need to. However, if that is the case, add another coat over your entire closet space and allow it to dry completely. Now you can remove the drop cloth and painter’s tape and you are good to go.
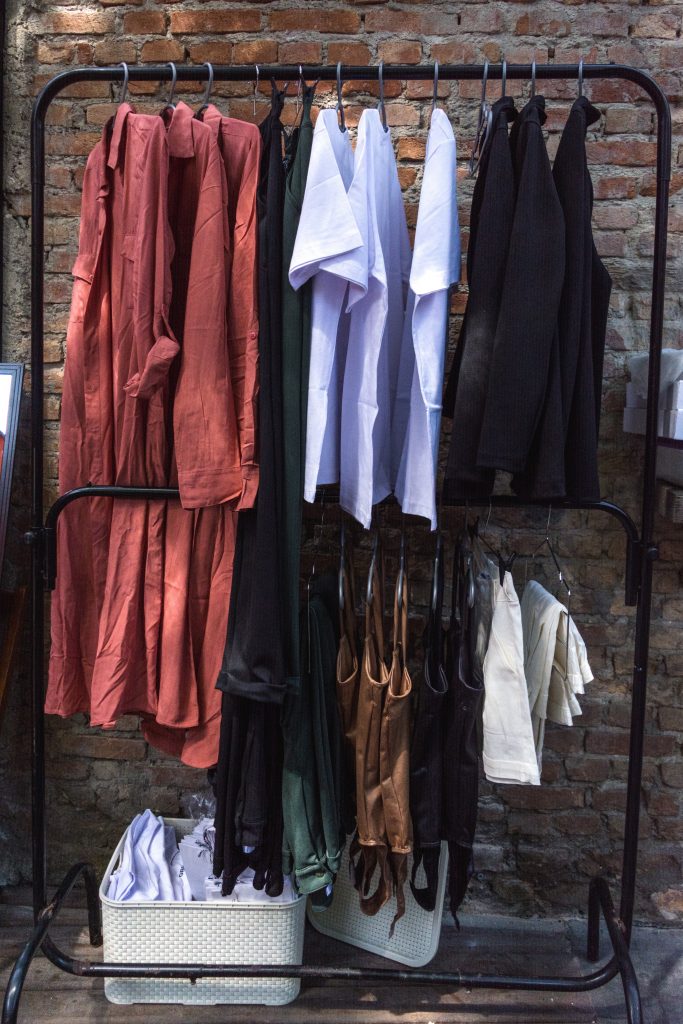
Put The Rods And Shelves In Place
To have your space take shape as a closet, you need to install the rods, brackets, and shelving into the closet. You should get a set of high-quality hangers to ensure that your space is functional. With that done, you now fully functional closet in your bedroom.
Check out these other articles
- How to Feng Shui a bedroom
- How much does it cost to paint a bedroom?
- How to install a lock on a bedroom door
- Where to put TV in a bedroom?
- How to finish an attic into a bedroom
- How to turn a garage into a bedroom
Conclusion
Home improvement can be fun, or not. It all depends on your preference, which is why we recommend that you hire an experienced handyman to build a closet for you. This also saves you from instances of personal injury or even messing up your room, should you make any mistake.
Besides just providing you with more storage space, when you build a closet it helps you keep your room in a more organized state. This home improvement makes finding clothing and accessories easy for you as they become very accessible to do.
If you install closet shelves when you build a closet, you end up having a lot of flexibility as you can easily plan what, where and not have to worry about mix-ups. For instance, you can fold bedsheets on one of your closet shelves while placing wristwatches on another.
In case none of the rooms in your house have closets, we recommend that you plan on how to build closet spaces in every one of them, as closets go a long way in making life easier. For a full article on How To Arrange Your Bedroom, check out our article here.
We hope you enjoy building a closet in your bedroom. You’ve got this.
How To Build A Closet In A Bedroom – Frequently Asked Questions
Does adding a closet add value to the home?
Adding a closet adds value to the home.
A survey conducted by Homes.com showed that closets are a necessity in the high-end market. Among the 250 people surveyed, a whopping 75.9% chose a luxury closet and suite as their #1 desired amenity. After a luxury closet, respondents wanted a wet bar, and then a specialty tub. Other options were Italian marble flooring, en-suite mini-kitchen, indoor pool, wine cellar, and sauna/spa room.
This shows that the custom, organized closet is essential when selling in the high-end home market — especially in master bedrooms.
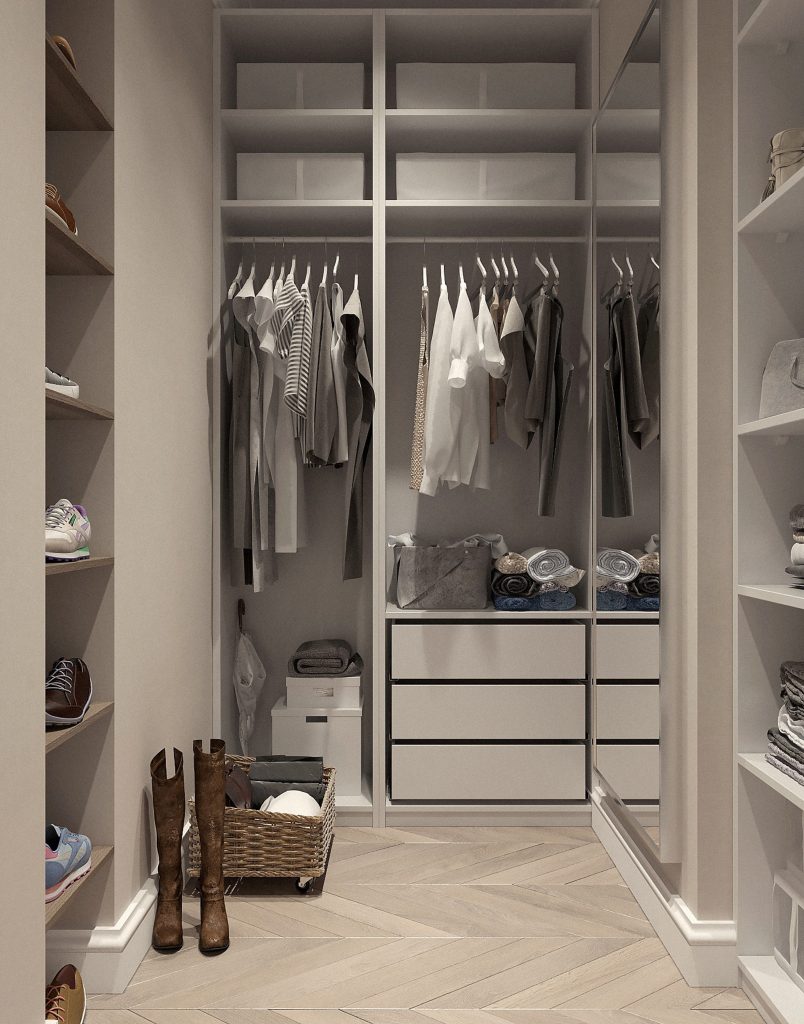
How do I turn my room into a walk-in wardrobe?
- Measure the width and height of the room.
- Sketch a plan for how you want the finished work to look like.
- Sort your clothes in the categories you want them to be.
- Pick a color scheme.
- Choose the wardrobe style you want- wall-mounted or floor mounted.
- Consider how much natural light you’ll be getting. Although, you can also set up your lighting.
- Think about how many mirrors you want and where you want them to go.
- Consider hanging curtains on your window, lace to be precise.
- Finally, decorate it to your taste!
Does adding a closet to a room make it a bedroom?
Contrary to what most people say, adding a closet to a room doesn’t make it a bedroom.
The fact that closets are commonly found in bedrooms doesn’t warrant for a room with a closet to be called a bedroom.
However, while closets aren’t a necessity, there are some requirements a room has to meet for it to be called a bedroom. Like enough floor space, a window, homely dimensions, temperature control, space to stand, etc. A closet is not one of them.
How do you build a corner closet in an existing room?
Whether you live in a big house or a small one, closet space is very needed, especially if you live in a small house. So, you’ll need to get creative at some point.
To build a corner closet in an existing room, you can make the following:
- Iron shelf bracket and pipes.
- Shelf with hooks for clothes.
- Freestanding door.
- Steel pipe.
- Wooden pallets.
- A shelf above clothing racks.
- Customized shelf.
- Curved curtain.
How do you hide an open closet?
- Suspend a pair of heavy drapes from a curtain rod mounted across the closet’s opening to make it look like a window.
- Hang a blanket that’s compatible with the style of your home from a swing rod.
- Place a tension rod between the inside edges of the closet doorway and drape a medium weight material like denim over the rod to hide the closet. You can also design the fabric with bells or beads for a custom look.